Uncategorized

Little Memories

“Rain drops on roses and whiskers on kittens, bright copper kettles and warm woolen mittens, brown paper packages tied up with strings, these are a few of my favorite things.”

The Sound of Music is a childhood favorite of my husband’s, bringing back warm memories of his mother, so this song gets stuck in my head often. When I was in high school, (giving away my age here but) before the days of text messages, my friends and I used to write notes back and forth more religiously than we completed our homework. They were elaborately folded or sometimes cradled in their own special notebooks that we passed back and forth. One such notebook contained a list of our favorite things. The only one I really remember was my friend Sarah’s love for the smell of Bradford Pear trees. If you’re not from the South, where Bradfords commonly dwell, they have beautiful blossoms that tend to smell like walking into a fish market on a warm day. Not everyone’s warm and fuzzy. But something about them is a favorite to someone! And every so often something happens or my kids do something and I just smile and think, “I love that. I want to remember that. When I am old and grey, I will miss that.”

We also use Chapbooks, which allows you to pull photos from Instagram (as well as other social media and your own photo library) to make a book with captions to document daily life.

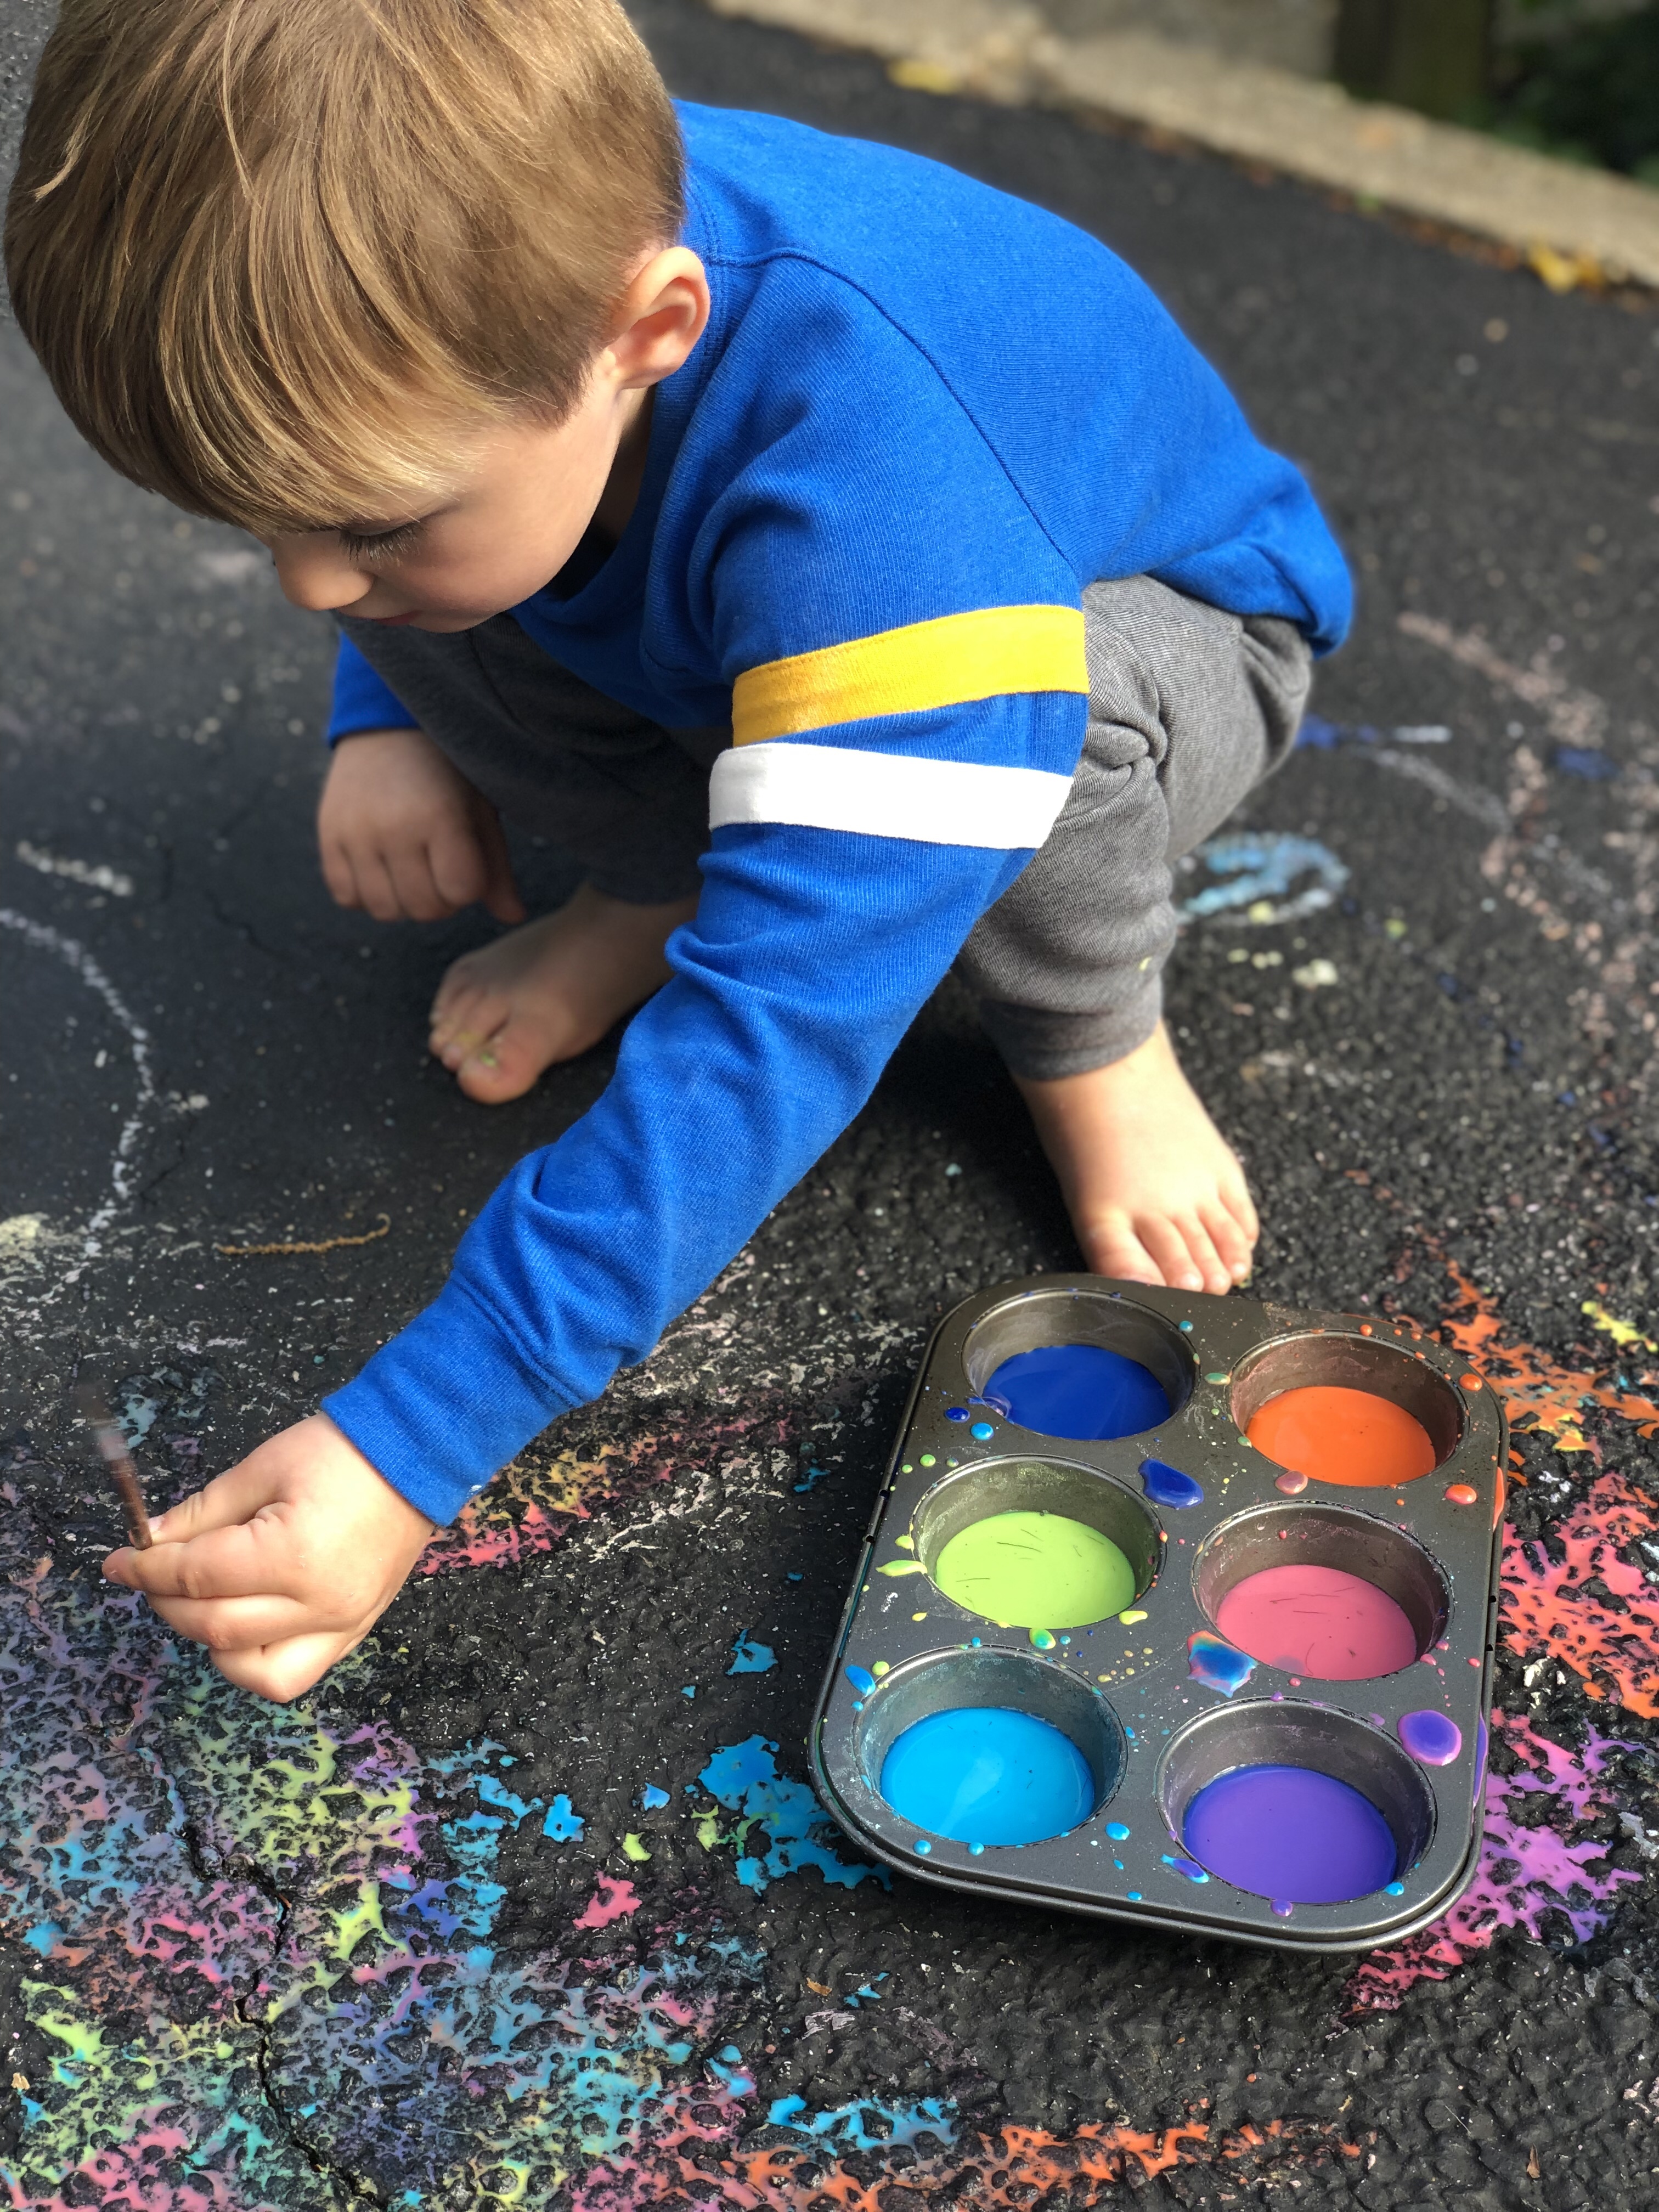
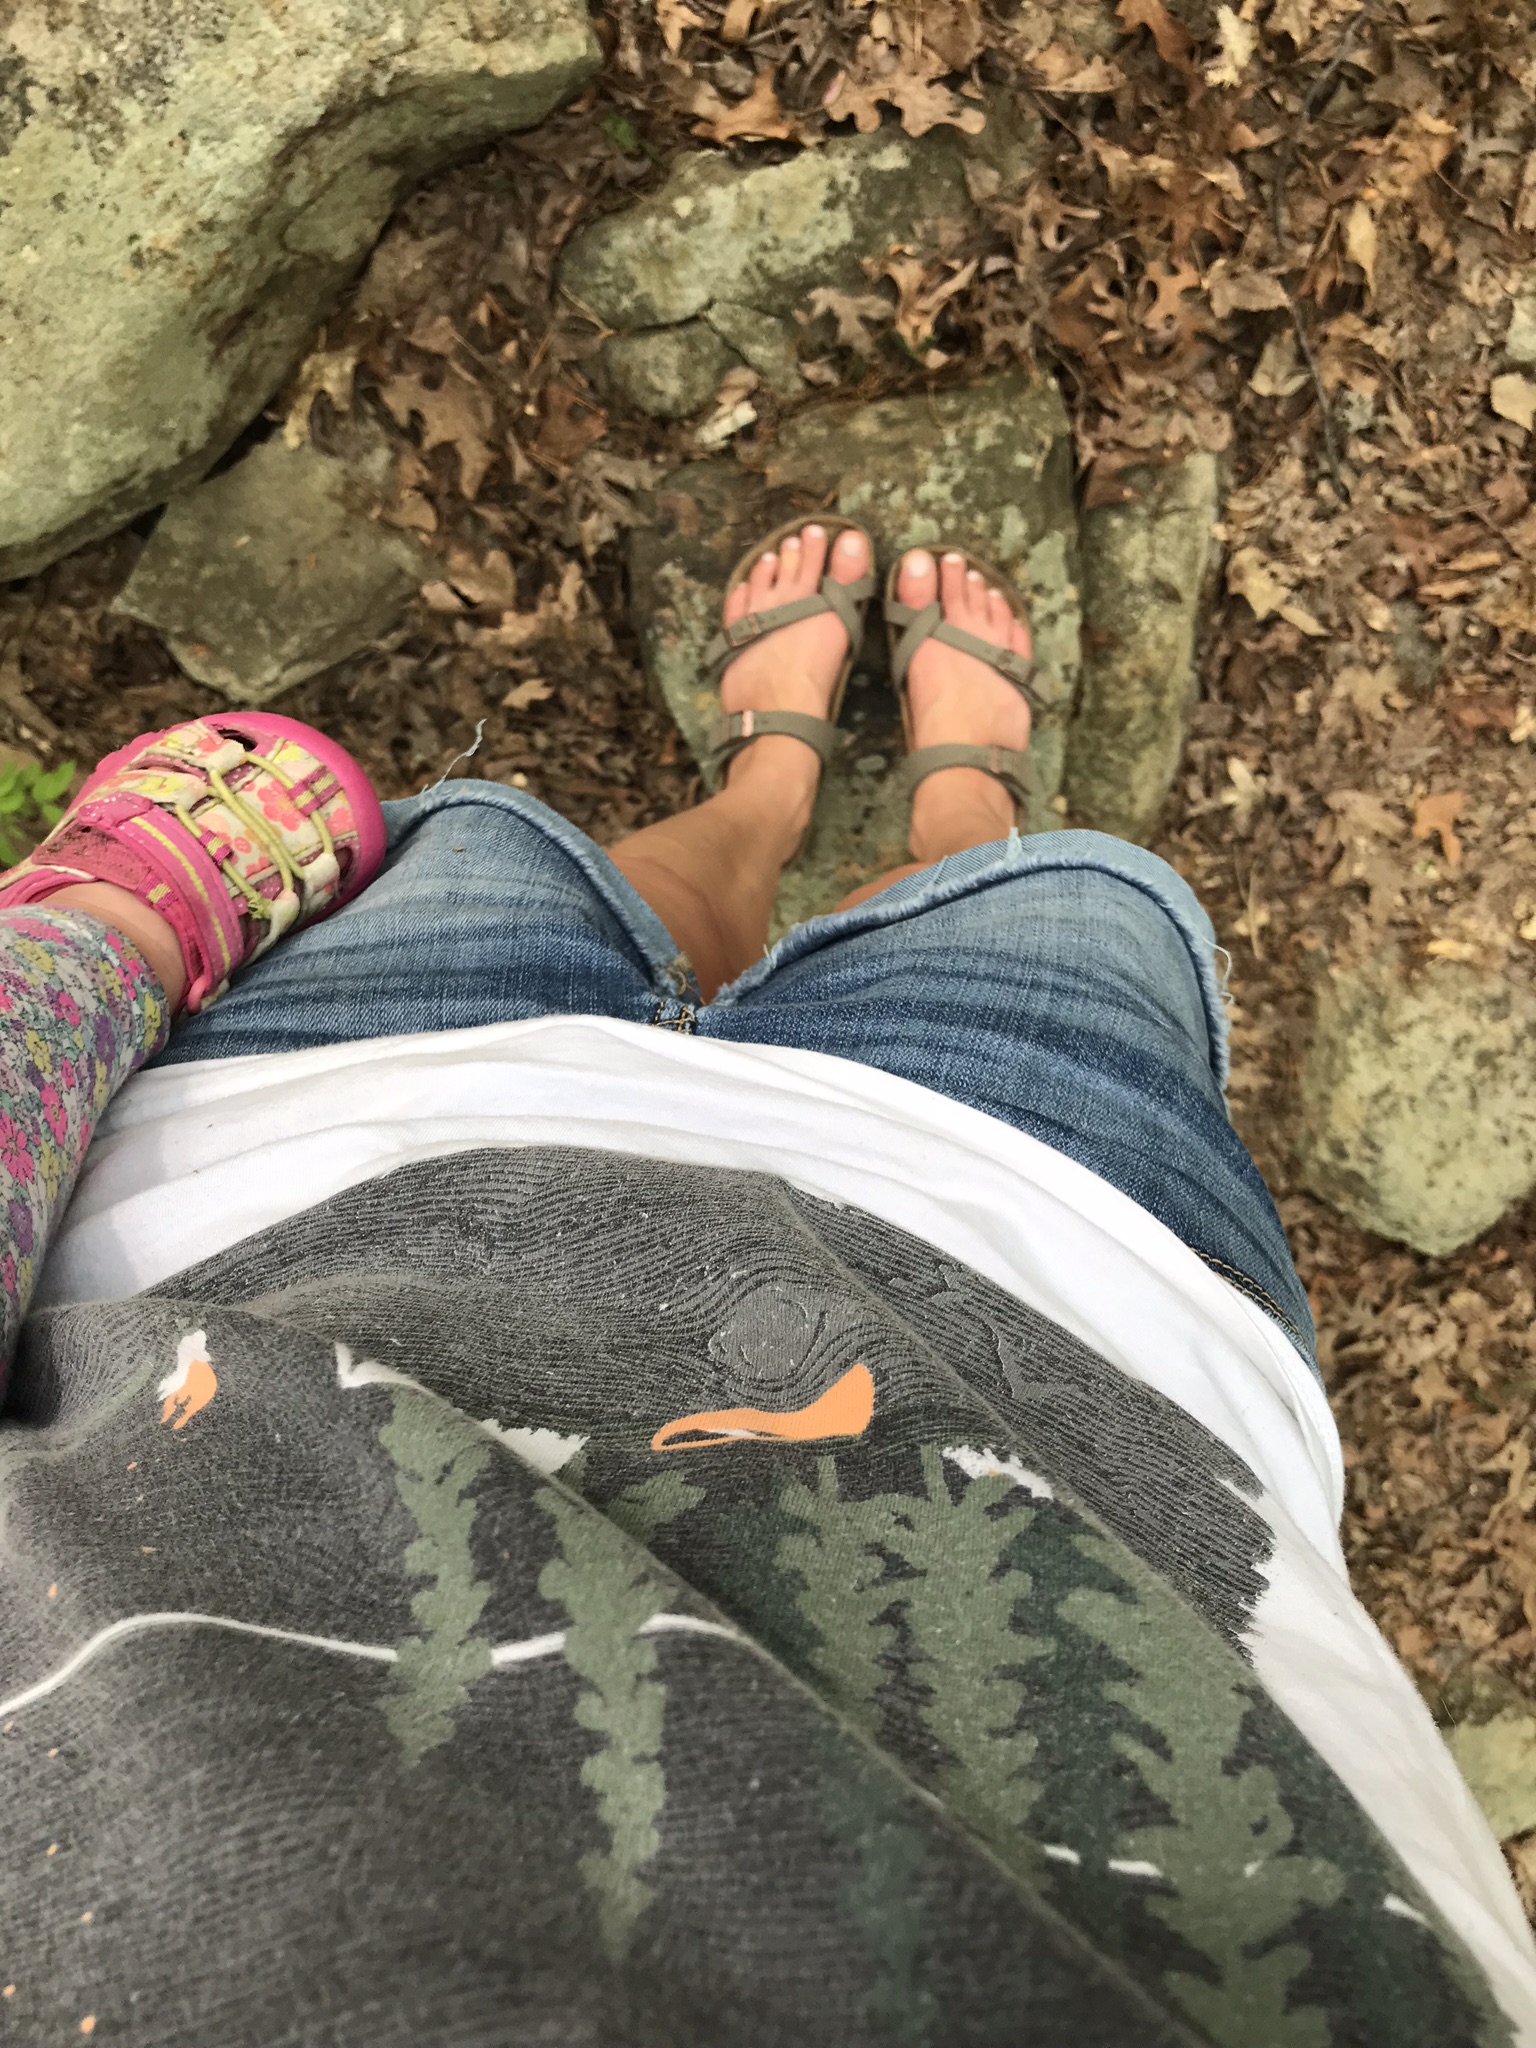
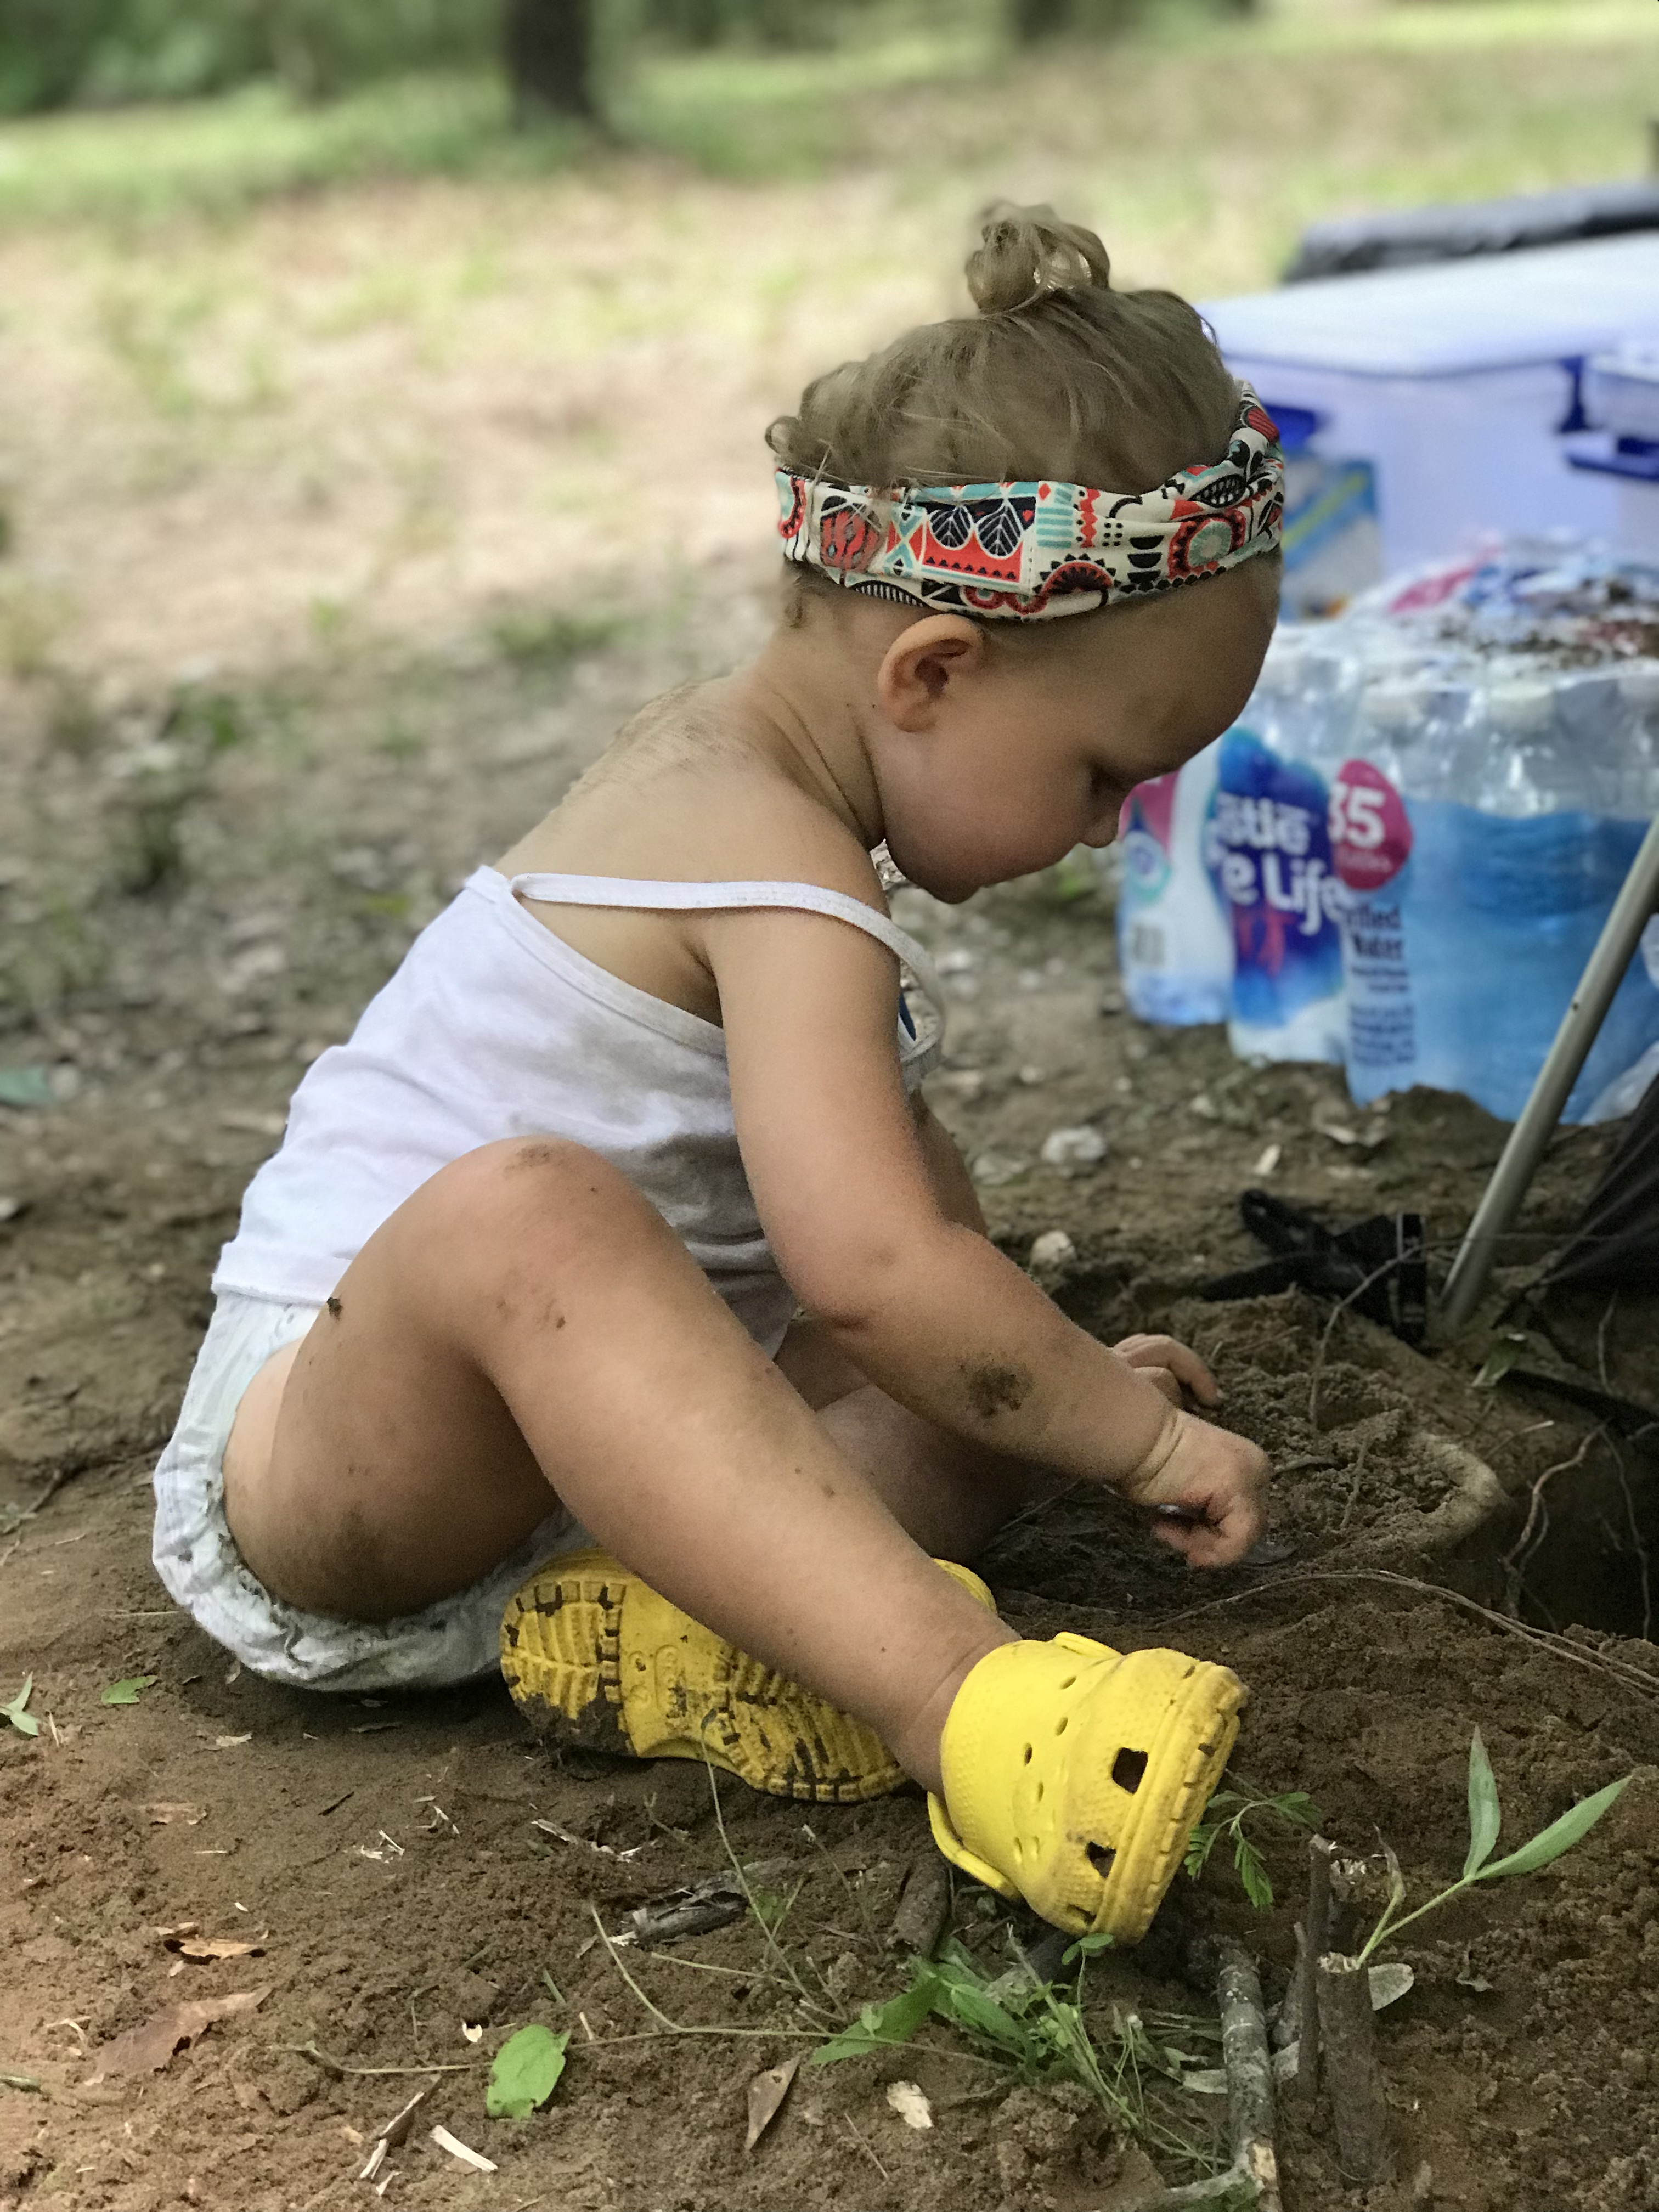
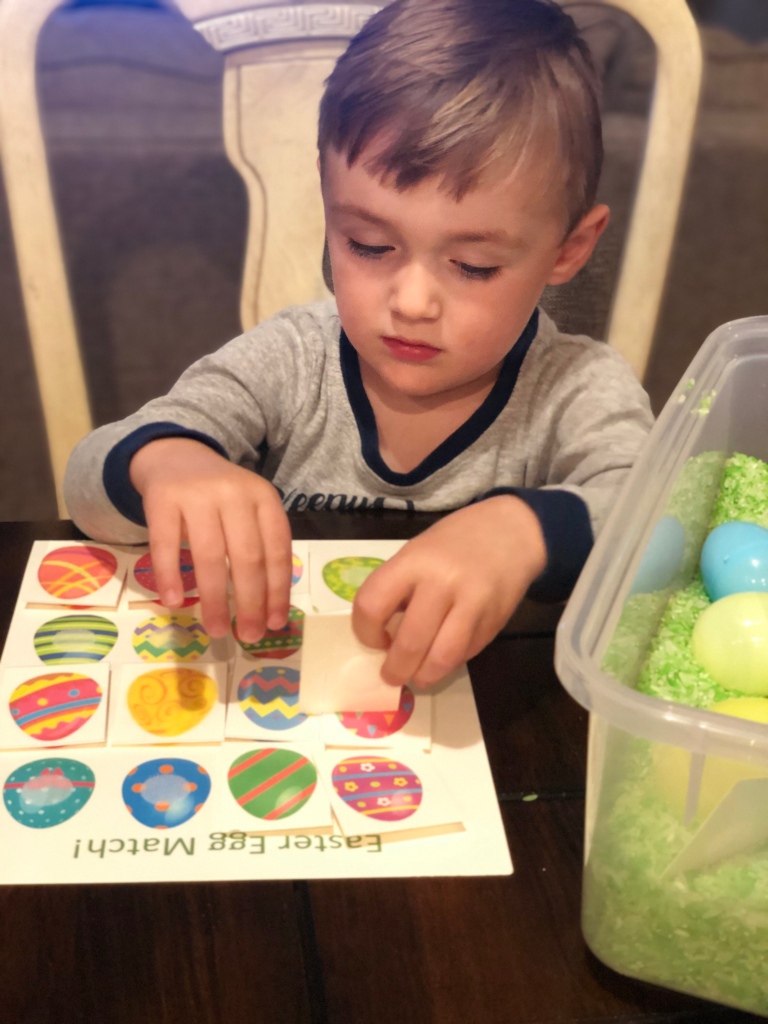
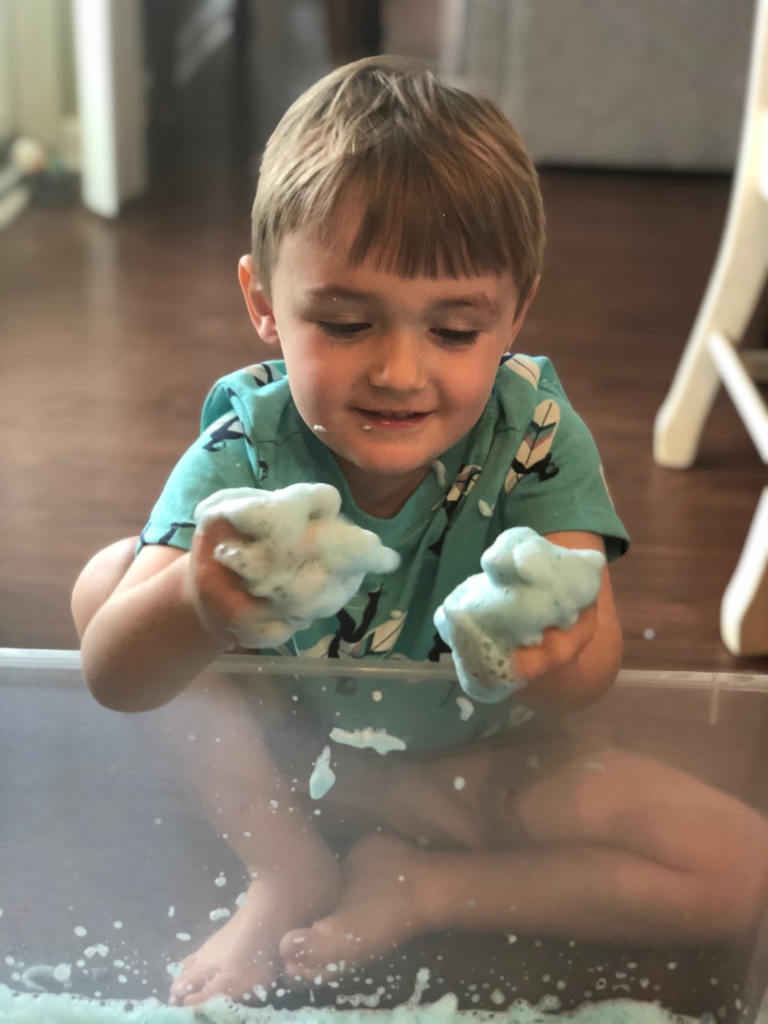
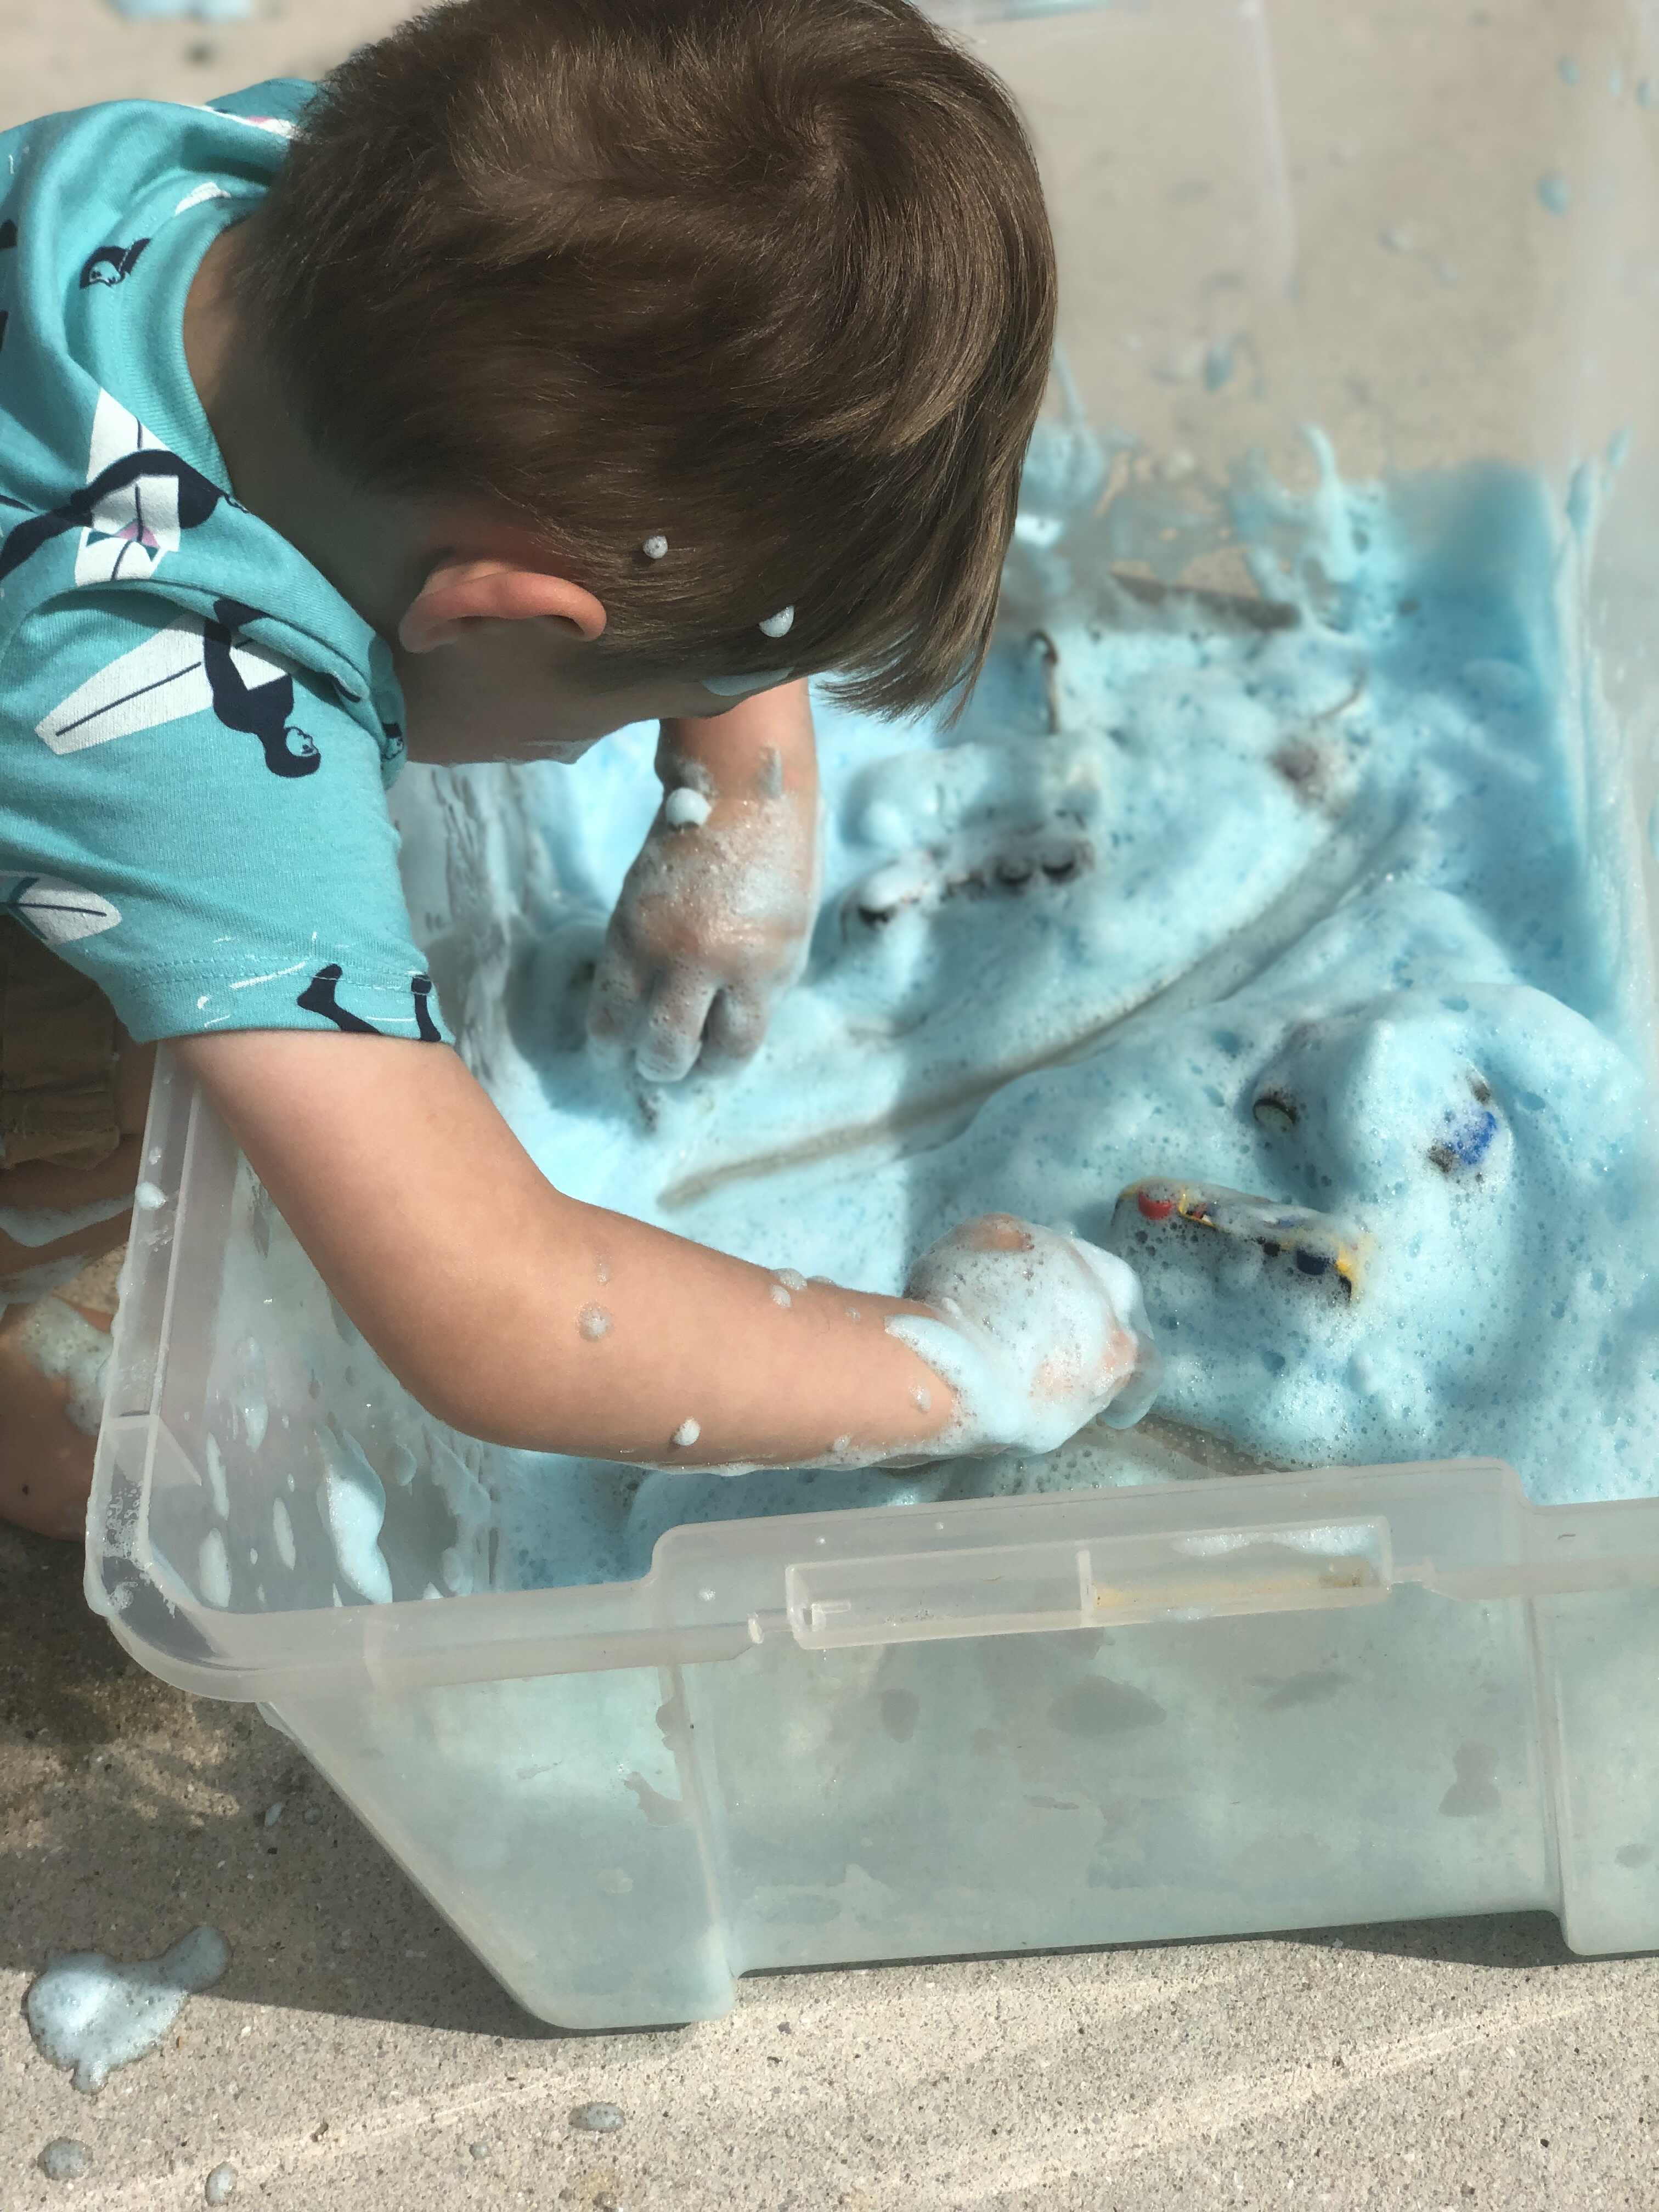
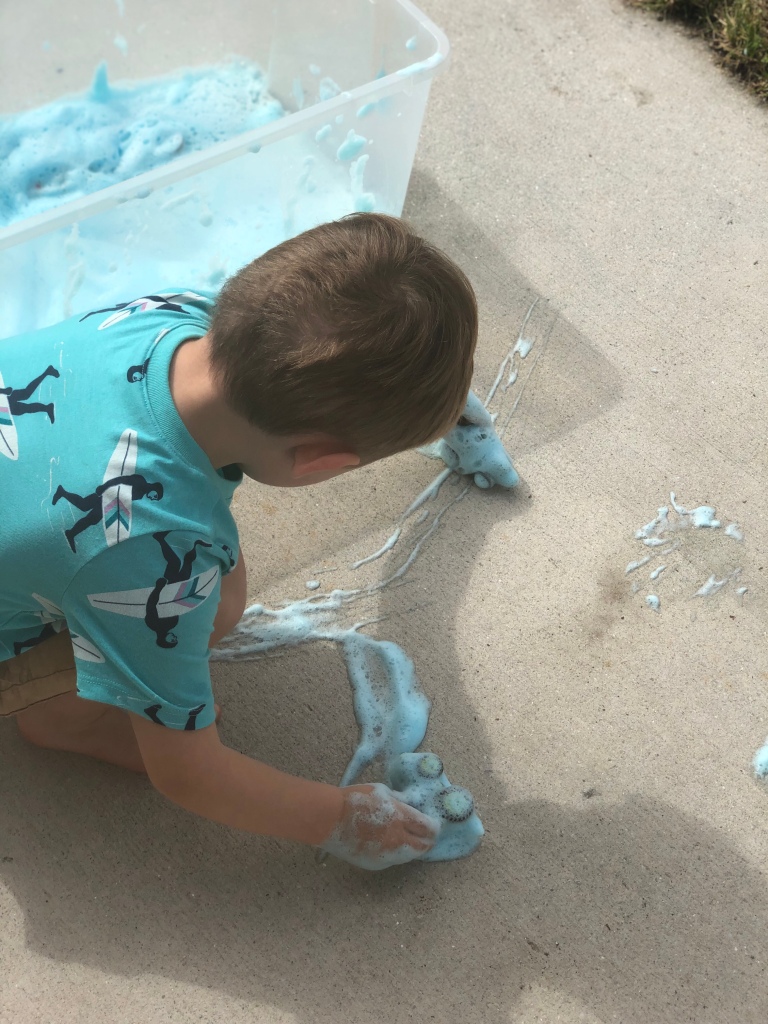
Last month we had a string of warm Spring days and we decided to go ahead and break out the backyard pool that Addie received for her 3rd birthday from Grayson. It was a bit chilly when the wind picked up, but they had so much fun. And Ella, being a bald-headed beauty, needed a little sunscreen on her peach fuzz to keep the sun away. When the afternoon was done and I carried them inside, I kissed the top of Ella’s head and breathed in that warm baby hair mixed with sunscreen and dirt and fresh air and was in heaven. She smelled like a tropical island. When Addie was a baldy, I did the same thing. I smelled the top of her head all day long, especially on those summer days. And that is one of my favorite things. If I could bottle it up I would. When their hair grows long, it’s not the same. Sometimes when one of those things catch my attention, my mind just spirals into ALL the things I want to remember. Fat baby toes, gummy smiles before teeth come in, the tiny little hairs all over baby faces. How do you save it all? How do you keep all of those little treasures for a rainy day when your house is empty? As someone who is forgetful in nature, this is something I think about almost constantly.

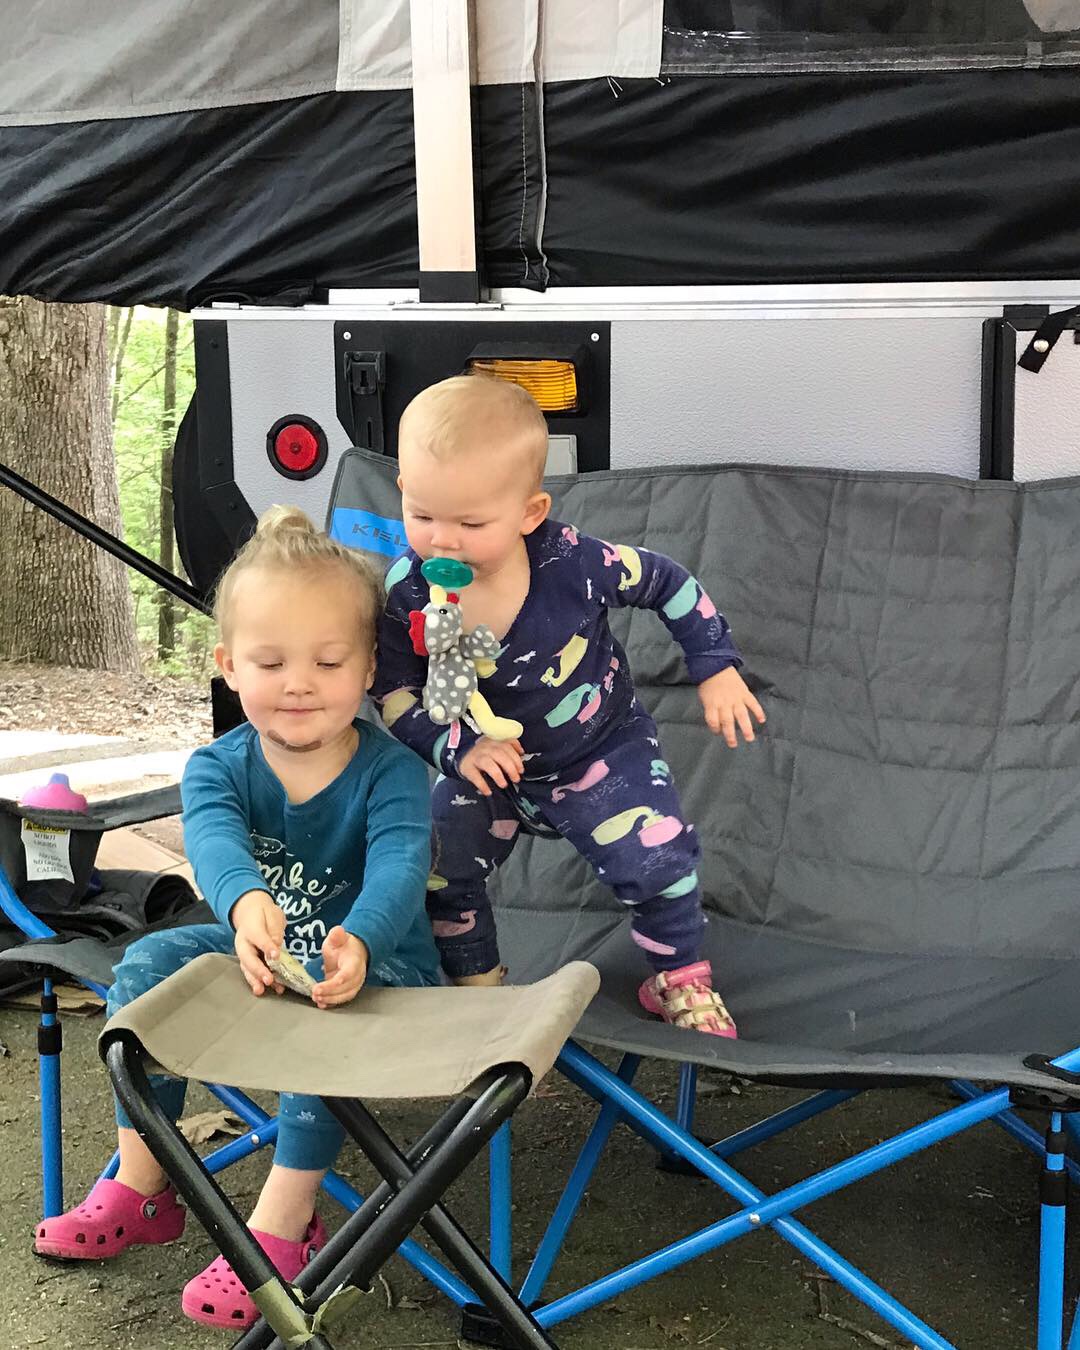
Whenever we get together for holidays, now that I have babies of my own, my grandmother and aunts and even my parents watch them play and it stirs up memories of raising babies for them. And I hear a lot of the same ones over and over, can anyone else relate? But it’s just how things stick with you. Some memories you always remember, and some you may laugh until you cry at the time, but it goes forgotten. My oldest has a new affinity for bugs and it has been an ever preset part of our days. In my spare time I find myself looking up which caterpillars can sting and weather centipedes are bad to hold, because these are things I need to know now. In the morning, we look for bugs. In the afternoon, we look for bugs and lizards. At night, we catch fireflies, and the first time we took her out to catch fireflies is one of those I always want to remember.

I walked outside after sunset on a warm May night and noticed the treeline behind our house was just lit up with fireflies. I mean it was mesmerizing, like a distant lightning storm or seeing the first Christmas lights. And it was only May! Didn’t fireflies usually come out in the summer? I was amazed. I grabbed my husband and my oldest (the youngest was already in bed) and dragged them outside. Then the three of us ran around trying to catch hands-down the biggest, fastest lightning bugs I’ve ever seen. We caught two, and were trying to find one more as they drifted into our yard from the trees. Addie and I were standing together, looking, when all of a sudden my husband comes speeding up behind us and basically pounces on the ground, trying to catch another firefly which, to his surprise, was the jar. Addie and I were cracking UP and inside I was just beaming with how hard her dad was trying to collect bugs for her, all the while feeling like a little kid myself. It was a great memory. It was a great day. And it warmed my heart to watch her go to sleep with a jar of fireflies by her bed as a nightlight. Even if there were only two in there.

All of these little memories I want to remember. I know it’s not possible, but every time someone tells me my kids will grow up before my eyes and I will wonder what happened, I just want to scream “No!” These feel like the best years, and I want to be able to tell them these stories when they are older, even if they roll their eyes at me the whole time. One of the best little gifts I have gotten for myself are Line A Day memory books. The ones I picked out for my girls capture 5 years of memories, one line a day. I’ll admit, it’s sometimes a challenge to keep up with, and I am currently a little behind. Sometimes at the end of a long day I don’t remember to write in them before I crawl in bed, so I text myself a memory that I can write in later. When I decided to get them, it was because I wanted to catalog all of those cute little things. Not just for me and my husband, but for my kids. There is something about me as a mom that just really wants to capture the years of my kid’s lives that they won’t remember. These tiny years are SO SPECIAL, and everything is new and exciting, and they won’t remember much, so I just have this urge to help them remember one day. Maybe I will gift these books on their wedding day, or when they have their first baby, or maybe I won’t be able to part with them at all!

How do you keep up with childhood memories? I’d love to hear what other parents do!

XOXO, Elizabeth & Kate

crafts, outdoors, Uncategorized

Bubble Foam Sensory Bin

Bubble foam is extremely easy to make and clean up is a breeze. It is the prefect “how are we going to make it through today!?” type of toddler activity. The best part, it uses things you probably already have at your house.

What you will need:

Directions: 

Grab a little helper and let’s get to making foam! The ratio I use is 2:1, two parts soap to one part water. To make the batch pictured I used 1 cup of tear free soap and ½ cup of water. We added blue food coloring, but this is completely optional. Once we got everything in the bin, we used the hand mixer to whip everything up. We mixed until we had stiff white peaks, you will know when its ready!

We started inside, since we had to use the mixer, but as he got into playing we quickly moved outdoors!

With the warm weather coming we spend most of our day outside. So, sensory bins that we can do outside are always a win. This soapy foam sensory bin was the activity that kept on giving.

What I had thought would be a look and find for hidden cars, turned into foam handprints, race tracks and then a car wash. To say this activity lasted longer then I thought it was is an understatement, and not in a bad way!

When you are ready to clean up, just spray everything down with a hose! Easy to create and easy to clean up!

Hope you enjoy this fun and easy sensory activity!

XO Kate

Motherhood, toddlers, Uncategorized

Keeping it Clean

In life, there are a few things that are harder then we anticipate. Keeping a clean house seems to be one of them for many of us. Because of children, pets, and daily life, keeping a clean house can seem like an impossible task. Like most things in my life, I decided to tackle this problem with a list and routine.

List most of us, I made myself a New Years resolution. My personal goal was to decrease stress in my life. A messy house creates a messy mind, which in turn creates a stressed out me! So, the brainstorming took hold. I knew I needed a structured plan to get the cleaning train moving. I also knew the more I kept on top of my cleaning routine the faster the daily process would be. Think about it, if you clean your floors once a week, there is less dirt to scrub off then if it’s been a month. And just like that a cleaning schedule was born.

Rome wasn’t built in a day, and your home can’t be 100% cleaned in one day either. Let’s be honest, your home will never be spotless, because that’s just life. But, you can keep your house clean and yourself sane by breaking down your cleaning into more manageable tasks. I break my tasks up into two categories: daily and weekly. This helps me stay on top of things, without spending hours a day cleaning.

What does that weekly schedule look like? Well here it is:

Monday: Bathrooms: my least favorite thing to clean on my least favorite day. I do bathrooms first, so I can get it checked off the list.

Tuesday: Downstairs floors. Vacuum and mop all the floors on your main floor.

Wednesday: Declutter: Wednesday is trash day, so I go around and collect all trash, recycling, and giveaway items. This is a great way to reduce clutter in your house as well.

Thursday: Upstairs floors. Vacuum and mop all the upstairs floors.

Friday: Catch up: Use this day to check up on anything you may have missed over the week.

Saturday: Clean out the fridge & Meal plan! Create your weekly meal plan to make your grocery shopping trip a breeze.

Sunday: Relax!

With my weekly tasks, come my every single day tasks. These activities do not take long, but help move everything along smoothly.

Morning tasks:

  • Empty the dishwasher: put away all the dishes from the night before.
  • Reload the dishwasher with left over dishes.
  • Throw in a load of laundry

Evening tasks:

  • Load and rerun the dishwasher.
  • Wipe down all the counters.
  • Scrub the sink.
  • Put away laundry.
  • Take 15 minutes to clean up.

Helping clean up the playroom.

This cleaning schedule has saved me so much time and stress. I check things off as I go and I don’t have the feeling looming over me that I should be cleaning. I can spend my free time making memories with my kiddos and relaxing.

The goal here is to keep your house clean, while spending less time actually cleaning. Remember, your house doesn’t have to be spotless because you and your family do live in it. I hope this cleaning routine saves you time that you can use to build and grow those precious memories with your family.

XO Kate

Uncategorized

Sidewalk Chalk Paint

This may be our new summer time go to activity. It’s simple, cheap, and my kiddos love it! Making our own sidewalk chalk paint only takes a few ingredients, that you probably have laying around your house!

What you’ll need:

  • 2/3 cup water
  • 1/2 cup cornstarch
  • Food coloring
  • Muffin tin
  • Paint brushes
  • A whisk/ spoon to stir

Find a little helper, and let’s get to creating. My son LOVES helping, so he jumped right in.

First, we mixed together the water and cornstarch. Have your kiddo stir until the cornstarch dissolves. (I did have to help him get some of the cornstarch off the bottom of the cup.) Once everything is mixed together, set that aside and put a few drops (3-5) of food coloring in each muffin tin.

Now it’s time to fill the tins. As you divide the paint mixture into the muffin tin you will see the colors appear. This was pretty neat, and like a little magic trick right in front of our eyes.

Since the entire activity only cost about .50 cents, I don’t have to stress about them ruining expensive paint when the inevitable color mixing occurs (Grayson’s favorite thing to do).

Grayson stayed outside painting for over an hour. This is a huge win for both of us! He really did have a blast! The paint did stain his hands a bit, but washed off his clothes with just soap and water. A little blue on his hands, was worth the hour of fun!

If you have any fun and easy summer activities we would love to hear about them!

Happy painting!

XO Kate

Uncategorized

A Little Guide to Great Family Photos

Spring flowers, sandy beaches, even (gasp) autumn on the horizon. ‘Tis the start of family photo season! And whether you prefer waiting for the colorful leaves, or you’d rather let the ocean be your background, we have some great tips for make your family photos the best they can be.

Jamie Luebbert Photography, Fayetteville NC
https://jamieluebbertphotography.com

Before I wore a mom hat, I wore a photographer hat. When my husband joined the military I decided to turn my long-time hobby into a business that could travel with me. I photographed families, babies, military homecomings, elopements, and weddings. And I love it! With deployments and babies, it has taken a backseat, but I still dust off my lenses every now and then! I also feel that puts me in a great position to give tips for planning your own family photo session, because I have taken photos OF kids and WITH kids.

Find a photographer that is good with kids. Many photographers do family photos, but some will actually choose not to take on those type of sessions because they aren’t their strong suit, or simply because that just isn’t where their passion lies. I really respect photographers who are able to say it’s not their thing. Newborn photography is NOT my thing. I am not good at it! I let photographers with that special ability capture those memories for me. So scope out your photographer. Don’t fall in love with some dreamy engagement photos and assume you can add two toddlers to the mix and get the same result. No. Look specifically at family albums and make sure you like them. Being able to makes kids (and sometimes husbands) genuinely smile is a gift you will appreciate tenfold.

Hannah Foulke Photography, Jacksonville NC
https://www.hannahfoulkephotography.com

Ask about what you’re getting. Session packages can range from sitting fees and paying for prints to getting select digital images to getting to choose your own digital library. Make sure you ask upfront what to expect (and what timeframe to expect it in.) Some photographers offer mini sessions if you are just looking for a pregnancy announcement or Christmas card, so keep that in mind as a more affordable option! But always clarify what you are looking for an what you are getting so both parties win.

Photo credit: Hannah Bogaski

Coordinate, don’t match. The days of white t-shirts and jeans for all are a thing of the past. Don’t ALL go for the same colors, bring a few into the mix. You want to make your wall-worthy photos to be genuine and visually interesting. Just as you would decorate a room, select a color palette for your family. If you are going to be taking photos in a colorful location, such as a flower field, less is more. If you are taking your session at the beach, bring on the color! (Read to the end of this post for some fun color palettes to plan with!) Also, be sure to select colors that are flattering to both your skin tone and your surroundings. For example, if you are fair-skinned like myself and it’s really warm out, you may want to avoid red because it will bring out the red in your face as well. Or if your photos are in the woods or an open field in the springtime when everything is vibrantly green, you may want to avoid greens or yellows. If in doubt, ask your photographer for their opinion. They want the photos to turn out just as beautifully as you do, so they should be more than willing to help!

If you DO feel more comfortable sticking to a certain color for the entire family, play with pattens and shades, and mix tops and bottoms. Especially for larger groups. It gives photos more character while keeping everyone in sync.

Meghan Elizabeth Photography, Baltimore MD
http://meghanelizabethphotography.me

Go with the flow. We all love the perfectly captured picture where everyone is all smiles, but more often my favorites from our family sessions come from genuine moments. Mom smiling at dad, the kids making funny faces, or caught mid-laughter. Because these are the moments that give people a glimpse into your real life. So of course, pose for a few photos, but enjoy the in-between and find a photographer that can capture those candid moments too. Even if babies fall asleep.

Alicia Q Photography, Jacksonville NC
http://www.aliciaqphotography.com
Hannah Foulke Photography, Jacksonville NC
https://www.hannahfoulkephotography.com

The art of distraction. Odds are, your kids are NOT going to love an hour of getting their photo taken. Parents often try to stop their kids from being kids and get them to focus on something they could literally care nothing about. This is one of the biggest tips I have to offer…I always encourage parents to let their kids play a little, within reason. Not in a mud puddle, but play in the sand a little. Run in the park. Lay in the grass. Make silly faces. I just follow along and take that chance to capture their kids loving life. And when they have gotten to do what they want to do, they are more willing to reel it back in for a family photo. If you are lucky, you get some adorable candid moments on film too! And if you’re okay with it, treats definitely don’t hurt. Just go for something that is quick to eat, and won’t melt or ruin outfits. I once gave my 1 year old M&Ms which she ate painfully slow and led to a blue mouth in a couple photos. Oops.

Don’t dress trendy. Do you ever look back at your childhood photos and think OMG, WHY?! Keep this in mind. Jumpsuits are adorable now, just as bell bottoms were once. You want to love these photos forever and not cringe at them in a few years time. So if you only get family photos done once in a blue moon, add depth to classic outfits with textures or patterns instead of trendy pieces. Lace is timeless, as are small patterns, stripes, and polkadots. If you get family photos done every year (or more), then rock all the trends you want! In fact, it would be kind of neat to see year-by-year how you dress your family.

Elizabeth Sherrill Photography, Jacksonville NC

Try not to stress too much about family photos. I do it to. You are paying for them, there are rarely do-overs, you want everyone to look and act their best, but regardless, the end result is well-captured memories. Even if it rains, even if you sit on a bumblebee (I have done this), even if you child will not smile to save his life. It’s okay. So as you plan those ever-important outfits, here are some fun color schemes to play around with:

Have any helpful family photo session know-how? Or even a funny photo story for us? We all have them! Comment below!

XOXO, Elizabeth & Kate

Uncategorized

Quiet Time Look & Find

As I plan our first road trip of many, my wheels begin to turn on quiet time activities. Finding quiet activities to keep those little minds busy during long car rides is key. To make sure that boredom doesn’t turn into meltdowns, it’s best to make sure your kiddos have something to focus on. A Look & Find bottle is a great quiet toy that will keep them busy for a long stretch of time.

What you will need:

  • Empty water bottle
  • Rice (I used the rice from our current Sensory bin )
  • Funnel or Cup with a spout
  • Knick knacks
  • Hot Glue or Tape

Onto the part you are really interested in, the how to:

First, you’ll want to find a few fun little knick knacks from around the house. Check in those junk drawers, we all have one or two, the playroom, and those hidden spots like under the couch. Once you have your items, create a checklist of everything your kiddo is going to search for. This will come in handy later on.

Next, find a little helper. Creating the Look & Find bottle is almost as fun as playing with it once it is done. Have your little one fill the bottle about half way up with rice, eyeballing is perfectly okay! You can use a funnel or a cup with a spout, whichever is easiest for your kiddo.

Add a few of your knick knacks, and then add another layer of rice, enough to cover them. Repeat this step until all of the knickknacks are used and the bottle is full. When the bottle is completely full, screw the lid on tight. To make sure the top doesn’t come off, you can add hot glue to the inside of the lid or tape around the outside.

Now, since my three year old can’t read yet, I keep the list for myself. The list allows me to ask them to search for different items and to check them off as they are found. If your child is able to read, tape the list to the outside of the bottle and have them find each item.

Just like that you have created your very own Look & Find bottle.

We would love to hear about your quiet time activities.

XO Kate

Uncategorized

Camping with 3 & Unders: A Survival Guide

Last summer, my husband got a wild hair about getting a camper. With him being an avid tent camper and huge fan of roughing it, and me not, I got on board pretty quickly. This would be like glamping! We decided a used pop-up camper was the way to go, just in case it wasn’t for us we could re-sell and not be out a huge investment. My husband searched daily and found one pretty quickly. Living the military life and having two little kids (and two dogs) doesn’t make it easy to travel, so our goal with the camper was to take little adventures and make the most of our time together, while traveling affordably. We brought it home, cleaned it out, and took inventory of everything we had and what we might need. We actually lucked out and got a lot of freebies thrown in with our camper, so we decided to be ambitious and take a trip right away!

Between last summer and now, we have learned a lot. I’ll admit, there have been days where I wonder WHY in the world we thought this was a good idea and I swear we aren’t taking another trip ANYTIME soon. But then, much more often, there are days where I just feel bliss, and soak up all the memories I possibly can, watching my kids experience things and creating ways to play that they never would have at home. Last week I rocked my youngest to sleep in a hammock under the last light of day, listening to crickets and birds, in the middle of a National Forest. Just take a second to appreciate how cool that sounds! We’ve seen lighthouses, mountains, and waterfalls all just in the past 9 months. Every single time we pack up, I am so so so thankful we took the trip, no matter what tiny struggles we may have had. So, if you are thinking of camping, in a tent or camper (we have done both with two babies!), here are my words of wisdom:

Start somewhere close. When we planned our first trip in the camper, we went an hour away from home. We tried to anticipate all the things that could go wrong and decided that worst case scenario, we could drive home at any hour of the day. We also chose to go to a KOA, which as new “campers” we learned stands for Kampgrounds of America. What is great about these is the amenities, and their consistency. Almost every KOA has the same amenities and they are AMAZING for kids. Bathrooms, showers, pools, little convenience stores, dog parks, and rentals, among other things. Since we were worried about keeping little ones entertained, a KOA sounded like a great first trip! We also watched several videos on YouTube to make sure we had everything our camper might need, like proper electrical hookups for example. When we planned our first tent camping trip, my oldest was 15 months old and I was 3 months pregnant, so we also decided a local-ish trip was the way to go and picked a National Forest campground near my parent’s house. Having home close by is a good safety net and stress reliever in my opinion!

Toss expectations out the window. Coming on strong with #2 on the list, I know, but let’s just get it out of the way. Parts of this are going to be challenging. While camping with kids, at some point you will STRUGGLE. When campgrounds are by a river or covered in huge boulders and you can see that spark in their tiny toddler eyes, your brain may short-circuit for a minute while you wrap your mind around how to keep your child from seriously injuring themselves. That’s okay. Just agree up front that you are going to be as “go with the flow” as possible. This is new, and new things come with a learning curve. Our first trip, we forgot coffee. This was DETREMENTAL! The second trip we remembered coffee but forgot cream and sugar. Better, but not ideal. We had a coffee curse! But now, just having completed our last trip this past week over spring break, packing and grocery shopping came relatively quick and easy. You WILL get the hang of it, it WILL be worth it, and your kids WILL have fun (and you will too.) Don’t stress over if they are eating enough fruit or if they get unbelievably dirty, or if you forget to pack a couple things. Treat it like the vacation that it is and try to make the best of what you’ve got! One thing that helps calm my nerves when going new places is to research the campgrounds and look for photos online of what to expect. I do this by using good ol’ Google and also by searching hashtags on Instagram, either of the campground name or park name. That way I can set expectations accordingly.

Pack familiar things. Nearly everything you are about to do is going to be different. One saving grace for me was bringing a travel high chair. When my youngest daughter was 9 months old, we went to the Outer Banks. She couldn’t walk, but MAN could she crawl. And if you haven’t been inside a pop-up, crawling is a little worrisome! So being able to strap her in her seat for snacks and meals, even to play with toys while we cooked dinner, was a lifesaver. Also be sure to pack favorite stuffed animals, blankets, or whatever comfort items you would usually pack for your kiddos, because camping does bring along unfamiliar places and noises! I suggest pack-n-plays or dock-a-tots for little ones so that they can nap/play easy. Monkey Mats also come in very handy for being able to play anywhere.

Bring along layers. Packing clothing for you and your kids is a little tough, because while you want to pack light for a tight space like a tent or camper, you also want to have enough clothing. When we went camping in the mountains this past October it was our first time “dry-camping.” That means that while our camper has hookups for electricity and water, we camped on a campground without. That also means no heat or AC. The first day we were in t-shirts and long pants, loving the fall weather. The last night, we experienced 60+ MPH gusts which shook our entire soft top camper, I was convinced a huge tree was going to crush us, and the wind chill was in the teens. Sleeping under lantern light and no heat with a 2 year old and 10 month old. Insane right?! But we made it and we agree it was our best trip ever. It’s funny how challenging or uncomfortable things sometimes form the fondest memories. Make sure to pack layers, rain jackets, etc for any possible weather. And a FEW duplicate clothing items, because kids.

Keep toys simple. Time to go back to basics! Staple toys for us, no matter the destination, include a bucket and a shovel. I also have recently started including a little Tupperware container for temporary critter observation (lol). For my youngest, I like to throw in a few toys from home that keep her entertained: something to read, something that makes noise, something to chew on, and something to stack/build. At the age they are now (3 and 16 months), I include play-doh and crayons/paper for some crafting, and the iPad in case the weather is bad and we need to watch a movie until the rain passes. The iPad also doubles as a sound machine for daytime naps! When selecting what to pack to keep kiddos entertained, try to find the balance between pushing them to be creative and explore their surroundings, and you staying sane. Remember why you want to take them camping in the first place and try to be creative yourself, and make the most of your time in the wild as a family. Play can be ANYTHING.

Push yourself. Also during that aforementioned mountain trip, we arrived to our campsite at 1:30am, set up in the dark, and went to sleep around 3am. We then woke up at 5am to make a 30 minute drive and see the sunrise on Mt. Mitchell, the highest point east of the Mississippi. Hiking up that short trail to the summit with nature completely silent around us and being alone on top of a mountain watching a new day?! Oh man. We ALL did it with smiles on our faces and it was a breathtaking experience. I’ll never forget. Camping is adventure, so make sure you bring your adventurous side. See the sights, eat the food, make the drive. We hiked to see a lighthouse and sweated through our clothes. We tent camped by a river and were eaten alive by bugs. We snuggled in one bed as freezing wind shook our surroundings. These are the stories we write together, as a family. The good laughs and fond memories come from experiences that stand apart from all the rest.

Some of our must-take prodcuts:
Cutter All Family wipes are amazing, and probably worked the best for us! We snagged these Para’kito wrist bands and clip for the babies from Walmart. They are baby safe (all natural ingredients/essential oils) and work well as a back-up, but wouldn’t recommend them being your only insect repellent. We also use Thermacell repellants and citronella candles around the campsite if it’s really bad. Coppertone Water Babies works best for us, we love the whipped sunscreen, but Babyganics makes great products too.

My packing list for the kids:
-sunscreen
-bug control
-thermometer & baby tylenol, along with first aid kid
-hats
-For warmer months: light jacket or rain jacket, for colder months: layered clothing up to a heavy jacket
-basic toys
-iPad (sound machine or a bad weather day)
-diapers, wipes, potty
-plastic grocery bags for dirty diapers, wet clothes, etc.
-towels & baby shampoo
-kid-safe antibacterial hand sanitizer or antibacterial wipes
-pillows & stuffed animal
-bedtime story
-baby carrier (I bring my Tula and my WildBird sling)
-bathing suit, water shoes, and foldable pool for warmer months
-Monkey Mat

-water cups

Remember, camping doesn’t have to be roughing it. One of the reasons we got a camper was to ultimately save cost on vacations. Many theme parks, national landmarks, and other attractions have designated camping areas (even Disney!) where you can stay and sight-see. We haven’t been able to do this yet, but it’s on our bucket list. Since getting our camper, we have slowly added upgrades to make traveling further more attainable, such as a composting toilet, outdoor canopy, and gated fence for our dogs (and kids, lol). We love dreaming up all the places we will go!

Feeling on top of the world. Sunrise in October on Mt. Mitchell. Elevation 6,684ft. The highest peak east of the Mississippi River.


Now, start planning your adventure! Feel free to comment if you want to know anymore about our camp life!

XOXO, Elizabeth

Uncategorized

Earth Day Craft!

Happy Earth Day!

This easy Earth Day craft is the perfect activity for kids of any age. All you will need is a coffee filter, green and blue washable markers, and a spray bottle filled with water. You don’t have to just create the Earth, let your imagination go wild and use a variety of different colors.

What you will need:

  • Coffee filters
  • Washable markers (blue and green)
  • A spray bottle
  • Water
  • A baking sheet (optional)

How to:

1. Color the coffee filter with the blue and green marker. As we picked out the markers, we talked about how the Earth is made up of land and water. I let him color all over the coffee filter, no neat lines or structure. He used his imagination to create his own “land” forms and oceans.

2. For this step, we went outside to decrease the mess! We sprayed the coffee filter with water, on top of a baking sheet to keep the dirt off. If you do not have a baking sheet handy, that’s alright, the ground works just as well! We sprayed the coffee filter until the colors began to spread and combine.

3. Last, but not least, lay the coffee filter out to dry!

And just like that, your kiddo has created their own version of the planet Earth!

We hope you enjoy and would love to see your Earth Coffee Filter creations!

XO Kate & Elizabeth


Motherhood, toddlers, Uncategorized

Getting Creative with Picky Eaters

When you become pregnant with your first child, you will swear your child will eat whatever you eat. You will never make a meal just for them. Your child will eat whatever is put in front of them. You swear that your child will love vegetables.

Everything is going exactly as you predicted, so far so good, then your child turns one. They get their first bite of cake and just like that your plan of healthy toddler meals goes out the window and all the delicious food you cook ends up on the floor for the dog.

Girl (and guy), I can completely relate. In fact, I am going through this very stage right now, times two! So here are a few tips and tricks that I am currently trying with both of my children. These have helped make meal time a bit less stressful, and the kiddos are slowly starting to come around. I call that a win-win!

Stay Consistent with Offering Healthy Foods!

Finding healthy meals that your toddlers will actually eat is hard work. It’s even harder to make meal after meal just to watch it be spat out. This can be frustrating, but take comfort knowing that consistently offering healthy foods can have a positive effect on their eating habits as your little(s) grow older.

Has your little one ever refused a certain food and then all the sudden they can’t get enough of it? Well, that’s because as your baby grows and develops, their taste buds change as well. So, keep offering a variety of healthy food to your little ones and eventually they will come around!

Hide Those Veggies!

Does your kiddo like smoothies? Smoothies are one of the easiest ways to include veggies into your child’s diet. Add some kale, carrots, or even beets! The sweetness of the fruit and yogurt will mask those veggies. There are a ton of easy and tasty recipes out there to try, or just make up your own. I also like to hide veggies in pasta sauce. My children love spaghetti and never notice when I add some zucchini, carrots, or cauliflower into our sauce.

Make Their Food Fun!

Who doesn’t like a plate of pretty food? Let’s be honest when we go out to eat and are handed a gorgeous plate, we are even more excited to chow down, after taking a picture, of course. So, why not create a fun and playful display of their food for your kiddos? It is worth the extra time it takes just to see how excited they get! The few bites they take may be icing on the cake, because let’s face it, a few bites are better than no bites at all!

One super fun and simple idea is turning apple slices into animals by using peanut butter and raisins. You are only limited by your imagination, create dinosaurs, butterflies, or whatever animal you kiddo enjoys. You can also make different bugs out of veggies! Get creative, do a little Pinterest search and even include your child in the decision and creation!

Change the Shape.

The texture of different foods can be a huge turn off to kids. Sometimes, something as simple as cutting the food up in a different way can make all the difference. Try cutting veggies into smaller pieces, shapes, or strips. My son loves carrots, but only if I cut them into strips julienne style (he’s a diva, I know) or buy baby carrots. Why? I have no clue, but if all I have to do is cut them differently to entice him to eat them, I am all in! Watermelon was the same way. When I cut them into cubes, neither child would touch it. But let them eat it directly off the rind and the watermelon was gone in minutes.

Cut into cubes… no, thanks! On the rind…. yes, please!

Always Have Something They Like on the Table.

I always have at least one thing on the table that I know my children will eat. That way I don’t have to worry about them being hungry five minutes after they leave the table. I let them know that they can choose what you would like to eat on your plate. I do not expect them to eat everything, but when it happens it is a pleasant surprise!

Having a food they enjoy, reduces the stress of both parent and child. When your child is relaxed, it is also more likely that they will try something new. Just imagine someone forcing you to try something you really weren’t too keen on. Do you think that would create a positive association with that specific food, or even with dinner? I think not. So, don’t force your child to finish everything on their plate. Encourage them to at least take a bite and praise them when they do. Creating positive associations between food and your child will help broaden their pallet.


I hope these tricks come in handy for you and your kiddos. If you have any other tips, comment below! We would love to hear how you get your kiddos to eat healthy!

XO Kate & Elizabeth

Uncategorized

Matching Easter Egg Sensory Bin

We LOVE sensory bins, so we created one just for Easter!

Have you done an Easter Egg hunt yet this year? We have had a ton of Easter events around our town, so the kiddos are now professionals. Because of their new found skills, we brought the Easter egg hunt into our home with this fun Matching Easter Eggs sensory bin. Not only is the sensory bin a blast, but it is a great fine-motor skill activity.

What you will need:

  • Matching Egg Sheet (Below)
  • Container
  • Rice
  • Food Dye
  • Plastic Eggs
  • Spoon
  • Bowl for Eggs
  • Clear Velcro Dots (optional)

Of course, the decorations for the sensory bin are totally optional. Make it your own and feel free to use whatever you have on hand. You can also get your kids involved in finding items to add the bin.

I created green rice by simply putting rice in a galloon bag, squeezing in some green dye, and shaking it all about. This is also a fun activity for your toddler to help you with. If you don’t have rice or green dye, you can also you the green crinkle grass.

You don’t need those exact items for the bin to be a success! Make it your own!

To Use:

Print the Matching Egg Sheets below, and cut out the Easter Egg squares on page 1. Attach the clear side of a set of clear velcro dots to each of the Easter Eggs on the matching mat.

Once your sheets and bin is ready, “hide” the Easter Egg squares throughout the sensory bin and have your child find the matching pairs.

To add an additional fine motor activity, have your little one attach and pull off the velcor eggs.

I also added some plastic Easter Eggs for an additional matching activity. I gave him a spoon to scoop the eggs out! We even made simple patterns with the plastic eggs. Let them explore, create, and imagine all the possibilities within the sensory bin.

I hope you and your little own enjoy this activity!

XO Kate & Elizabeth